I have to start out by telling you flat out that this tonic is pretty darn amazing. I feel the need to shout it from the rooftops because my results after drinking this tonic for about 6 months have been pretty life changing. In my opinion, it’s a miracle drink – I can say that since I’m not trying to sell it to you.
For about 6 years now I have had gastric issues, and nothing brought relief. I saw so a multitude of doctors who took a myriad of tests to see what was wrong with me (I’ll be paying off those bills for quite a while!) What a waste – the results were useless.
Due to a laundry list of unexplained symptoms, I started seeing a nutritionist/chiropractor. I saw her monthly for a couple of years to gently detox my system from heavy metals and other environmental toxins. She taught me about making healthier food choices, and why whole foods and whole food supplements were an integral part of health and wellness. My gut felt somewhat better after seeing her for a while, but I still had lingering symptoms I could not shake.
When I first started making this lemon tonic, which consisted of fresh-squeezed lemon, raw honey and apple cider vinegar, I drank it every morning before my breakfast. At first, I wasn’t sure if it was doing anything for me. I had read so many wonderful things about lemon water, and knew that if I kept up my routine I would benefit from it eventually.
One important piece of information I discovered was that raw, unfiltered honey has the most health benefits, so I started using that instead of the cheap-o kind I was using (generic brand in a bear-shaped bottle). After more research, I discovered that adding baking soda to lemon water has even more health benefits – even cancer prevention – so I added that to my concoction.
All I can say is WOW! I sure noticed some changes. The excessive bloating I would experience after every meal dissipated. The bloat lead to a whole host of other issues I won’t get into here. My skin cleared up (but I also use Arbonne’s anti-aging skin care, which has something to do with that!), and I noticed I wasn’t catching a cold as often as before.
With the help of digestive enzymes with every meal, and liquid vitamins, I believe all of these changes in my diet have played an integral role in my current wellness.
I recommend this lemon tonic recipe to anyone who complains of digestive distress. Even if you don’t have stomach issues, there are a multitude of other health benefits (listed below). It couldn’t hurt to try it for yourself. If you are consistent and drink this tonic every single morning before breakfast, you will notice changes eventually. Still a skeptic? Google “lemon honey water” and read on! There are dozens of articles by doctors and health and wellness practitioners praising lemon water.
So, you’re probably wondering, “Why lemon, honey, baking soda and apple cider vinegar? What makes them so special?” I have gathered some information and compiled it all here:
Lemon Goodness
Lemons are rich in vitamin C, which enhances beauty by rejuvenating the skin from the inside. It helps in weight loss, and is a very alkaline fruit (once it is in the body – otherwise it is acidic).
Lemons are a great source of polysaccharides, organic acids especially citric acid, lipids, carotenoid, vitamins, minerals, flavonoids, bitter limonoids, potassium, bioflavonoids, and vitamin C. Lemons also include volatile oil (in the peel – where the lemon essential oils come from), limonene, alpha-terpinene, alpha-pinene, citral, coumarins, mucilage, pectins, and bioflavonoids (pith and peel).
Honey Goodness
Honey (I prefer this one) is a great source of good carbohydrates, proteins and amino acids. Honey contains small amounts of the B vitamins riboflavin, niacin, folic acid, pantothenic acid and vitamin B6. It also contains vitamin C, and the minerals calcium, iron, zinc, potassium, phosphorous, magnesium, selenium, chromium and manganese. The darker the honey, the greater antioxidants. Honey also contains organic acids such as acetic, butanoic, formic, citric, succinic, lactic, malic, pyroglutamic and gluconic acids, and a number of aromatic acids.
Apple Cider Vinegar Goodness
(This will knock your socks off!) I use Bragg’s organic ACV, which says “With the Mother” on the front of the bottle. Seriously…you must use Bragg’s – it is the best. All others I’ve tasted were not so pleasant.
“With the Mother” means that it still contains all of the good stuff, unlike other apple cider vinegars. ACV contains pectin, Vitamin C, Vitamins B1, B2 and B6, biotin, folic acid, niacin, pantothenic acid, and small amounts of minerals like potassium, sodium, phosphorus, calcium, and iron. It has a wide range of benefits, such as it: helps stomach troubles, cures hiccups, soothes a sore throat, could lower cholesterol, prevents indigestion, clears a stuffy nose, aids in weight loss, gets rid of dandruff, clears acne, boosts energy, cuts down on nighttime leg cramps, banishes bad breath, whitens teeth, fades bruises, helps control blood sugar. Amazing – and it’s only about $8 for a large bottle at the grocery store!
Baking Soda Goodness
Baking Soda isn’t just for baking cookies! When consumed, it works by immediately kicking stomach acid in the face, which then helps relieve heartburn, indigestion and even ulcer pain. When consumed in a lemon tonic, it gets your digestive juices flowing, and will help your stomach in digestion. If that wasn’t enough, it is also known to alkalize the body and help with kidney disease, cancer, athletic performance, skin conditions and can be used in homemade deodorants (RECIPE HERE) and toothpaste (RECIPE HERE).
In Summary, here’s a list of health benefits of this tonic:
- Enhances metabolism.
- Aids digestion.
- Cleanses the intestines, which improves the absorption of nutrients.
- Boosts your immune system.
- Cleans your urinary tract.
- Balances pH levels.
- Clears skin.
- Promotes healing.
- Freshens breath.
- Hydrates your lymph system.
- Aids in weight loss.
- Boosts energy.
I am sure this isn’t even an exhaustive list. But it is a very good start! I feel that everyone should drink this daily, and I hope you will give it a try. If you don’t have all of the ingredients, make sure you at least have water, honey, lemon and ACV. Those are good enough in themselves for boosting your immune system.

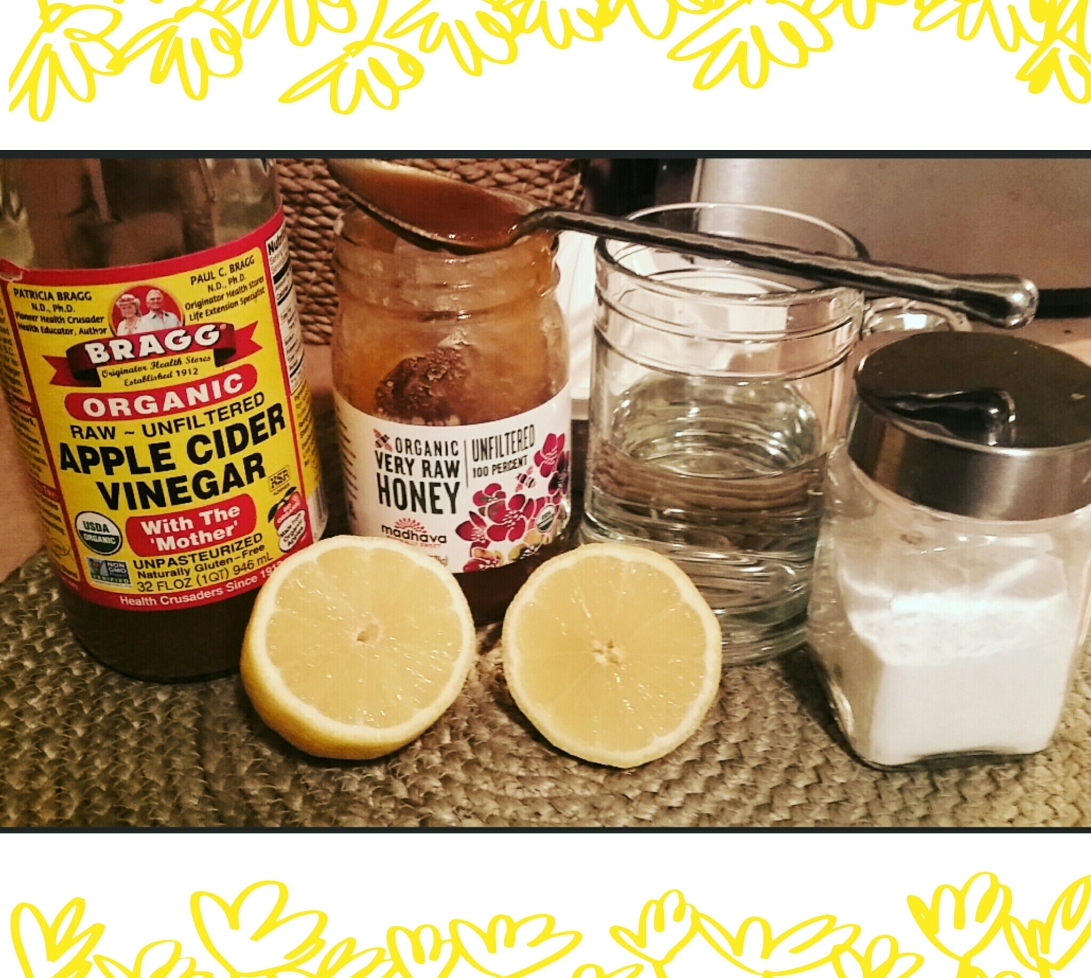
LEMON WATER TONIC
- 8 oz. warm water
- 1 fresh-squeezed lemon
- 1 tsp raw, Bragg’s organic apple cider vinegar
- 1 Tbs raw, unfiltered, organic honey (I like this one)
- 1/2 tsp baking soda (I like this one)
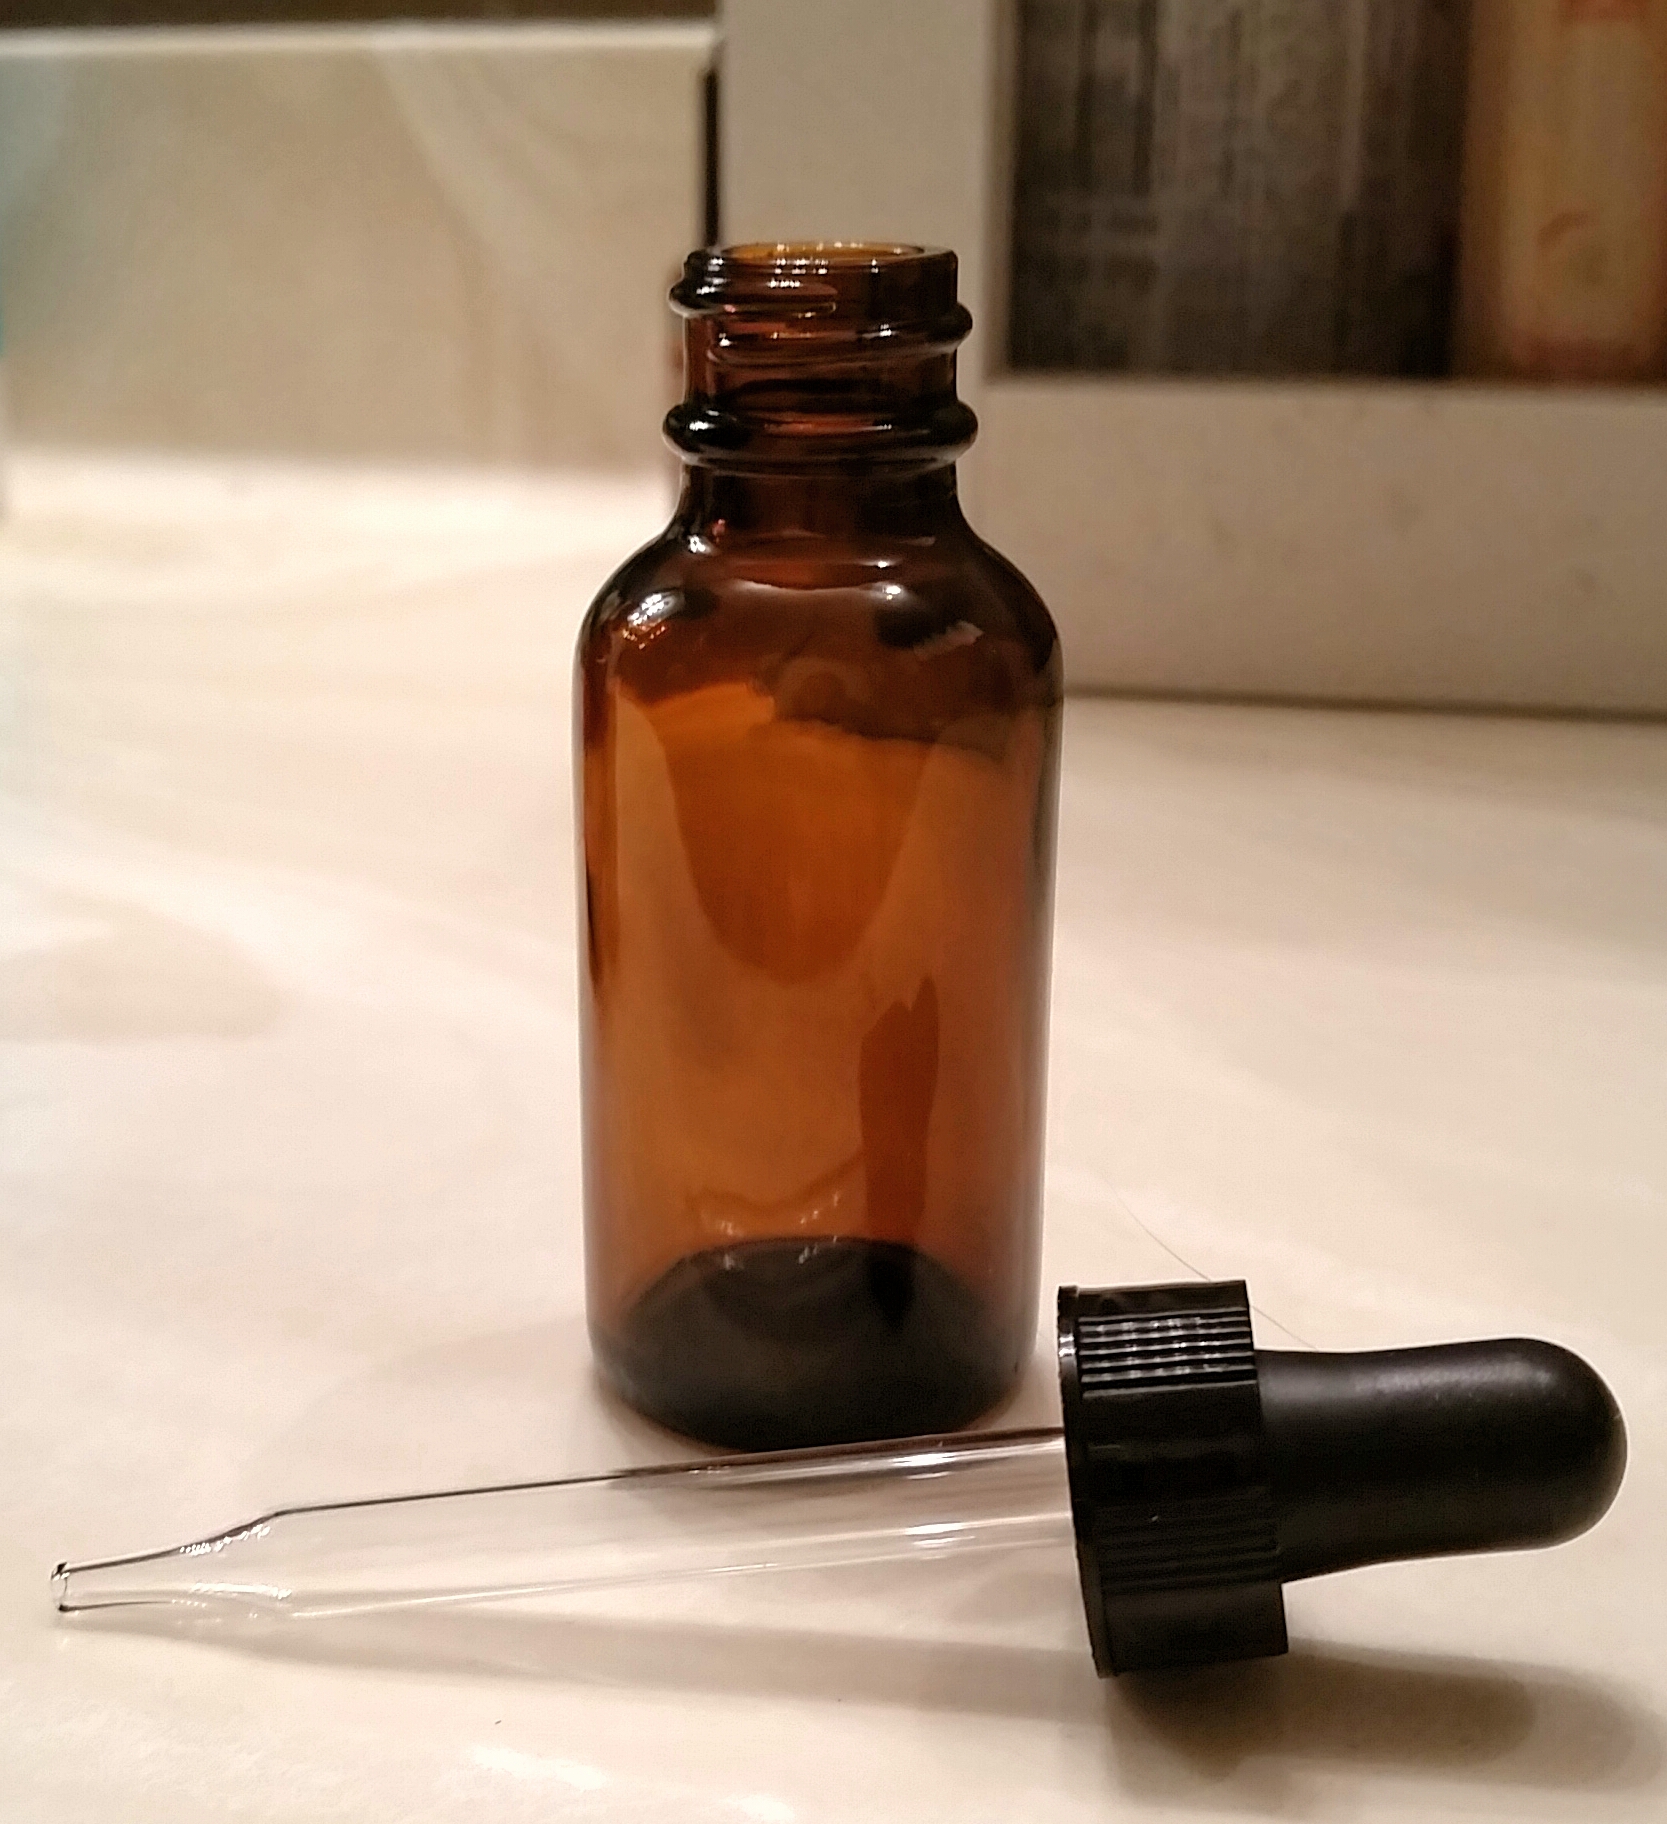
- Drop or 2 of essential oil of choice
First, heat up the water in either a glass or ceramic mug, for 35-40 seconds in the microwave. Next, stir in the honey until it is dissolved. Then you can add in the ACV and baking soda. (**you can toss in some of your favorite essential oils if you’d like!)
The last part is a little tricky. Before you add the lemon juice to the mixture, be forewarned! It can get messy if you don’t slowly add it in. The baking soda reacts to the acid in the lemon juice and foams up quick!! I’ve had mine spill out onto my counter a few times. If you slowly add the lemon juice, but use a spoon to break up the foam as you continue to pour the lemon juice, you should be alright. I drink it with a stainless steel straw because the acid from the lemon can eat away at your teeth. If you don’t have one, just sip it, but rinse your mouth with water from the faucet after you finish your drink.
So, if any of you start doing this daily, and notice some changes in your health, please come back to tell me about it! 🙂
DISCLAIMERS: Not all essential oils are created equal, nor are all brands ingestible. Most oils are adulterated, and contain fillers and contaminants. The essential oils I cook with and/or ingest are 100% pure according to full disclosures of sourcing, testing and third-party testing for absolute purity. Please do not buy oils from the store and assume that you can ingest them without first contacting a professional. As an Amazon Affiliate I earn from qualifying purchases.
Certified Aromatherapist
and Member of the National Association
for Holistic Aromatherapy
![]()